This Article will go through the journey of getting started using Sodaclick with an existing CMS.
1 - Register a Sodaclick account using a valid license.
-
Go to the Sign-Up menu here.
-
Fill in the required details.
-
Add the licence key.
-
Accept the end-user agreement.
-
Click Create my account.
OR
Sign into Sodaclick using an active account.
- Go to the Sign In menu here.
- Enter your email and password.
- Click the Sign In button.
2 - Create A Slide
Once signed in to your profile page, you'll find all your recent / future saved slides and the 'NEW SLIDE' option in the top left corner.
- Click the 'NEW SLIDE' on your profile page
- Set a specific size, or choose your standard landscape / portrait orientation (16:9 / 9:16)
- Click 'EDIT SLIDE' to access the full content editor
- Click on the settings icon in the app, and select 'CLEAR ALL' to clear the canvas
- Set your background colour or drop an image in from your asset library, and then set your text etc. from the editor tools.
OR
Edit A Slide From The Sodaclick Template Gallery
Once signed in to your profile page, you'll find all your recent / future saved slides and the Sodaclick template gallery.
- Start by selecting the
 button on your profile page
 - Select from 'LONG' (9:16) or 'WIDE' (16:9) orientation templates
- Select the desired template from one of the digital signage verticals
- Name your slide and select 'OK'
- Edit basic elements of the template through the quick editor
- or Select 'EDIT SLIDE' to access the full content editor
3 - Add Your Slides To A Project
From the 'Projects' dash, add single or multiple slides to a project. From this, you'll be able to create numerous digital signage solutions, such as standard playlists, and voice solutions that can be posted directly to a screen / device.
Creating a project:
- Select 'Projects' from the drop down menu, top right corner of your dashboard
- Select 'Create Project'
- Name and add tags to your project
- Select 'Project Setup' from the drop down menu next to your project on the right hand side
- Select 'Add Content' from the settings menu within your project
- Add the desired slides into your project by selecting 'Apply Changes'
- Your slides will automatically be assigned a playlist order and duration of 10s per slide
- Change duration and order of a playlist by clicking the drop down underneath each slide
- Optional: To pre-rotate Portrait content to counter clockwise, add the following code to the end of your copied URL: &orientation=ccw
- Optional: To pre-rotate Portrait (vertical) content to clockwise, add the following code to the end of your copied URL: &orientation=cw
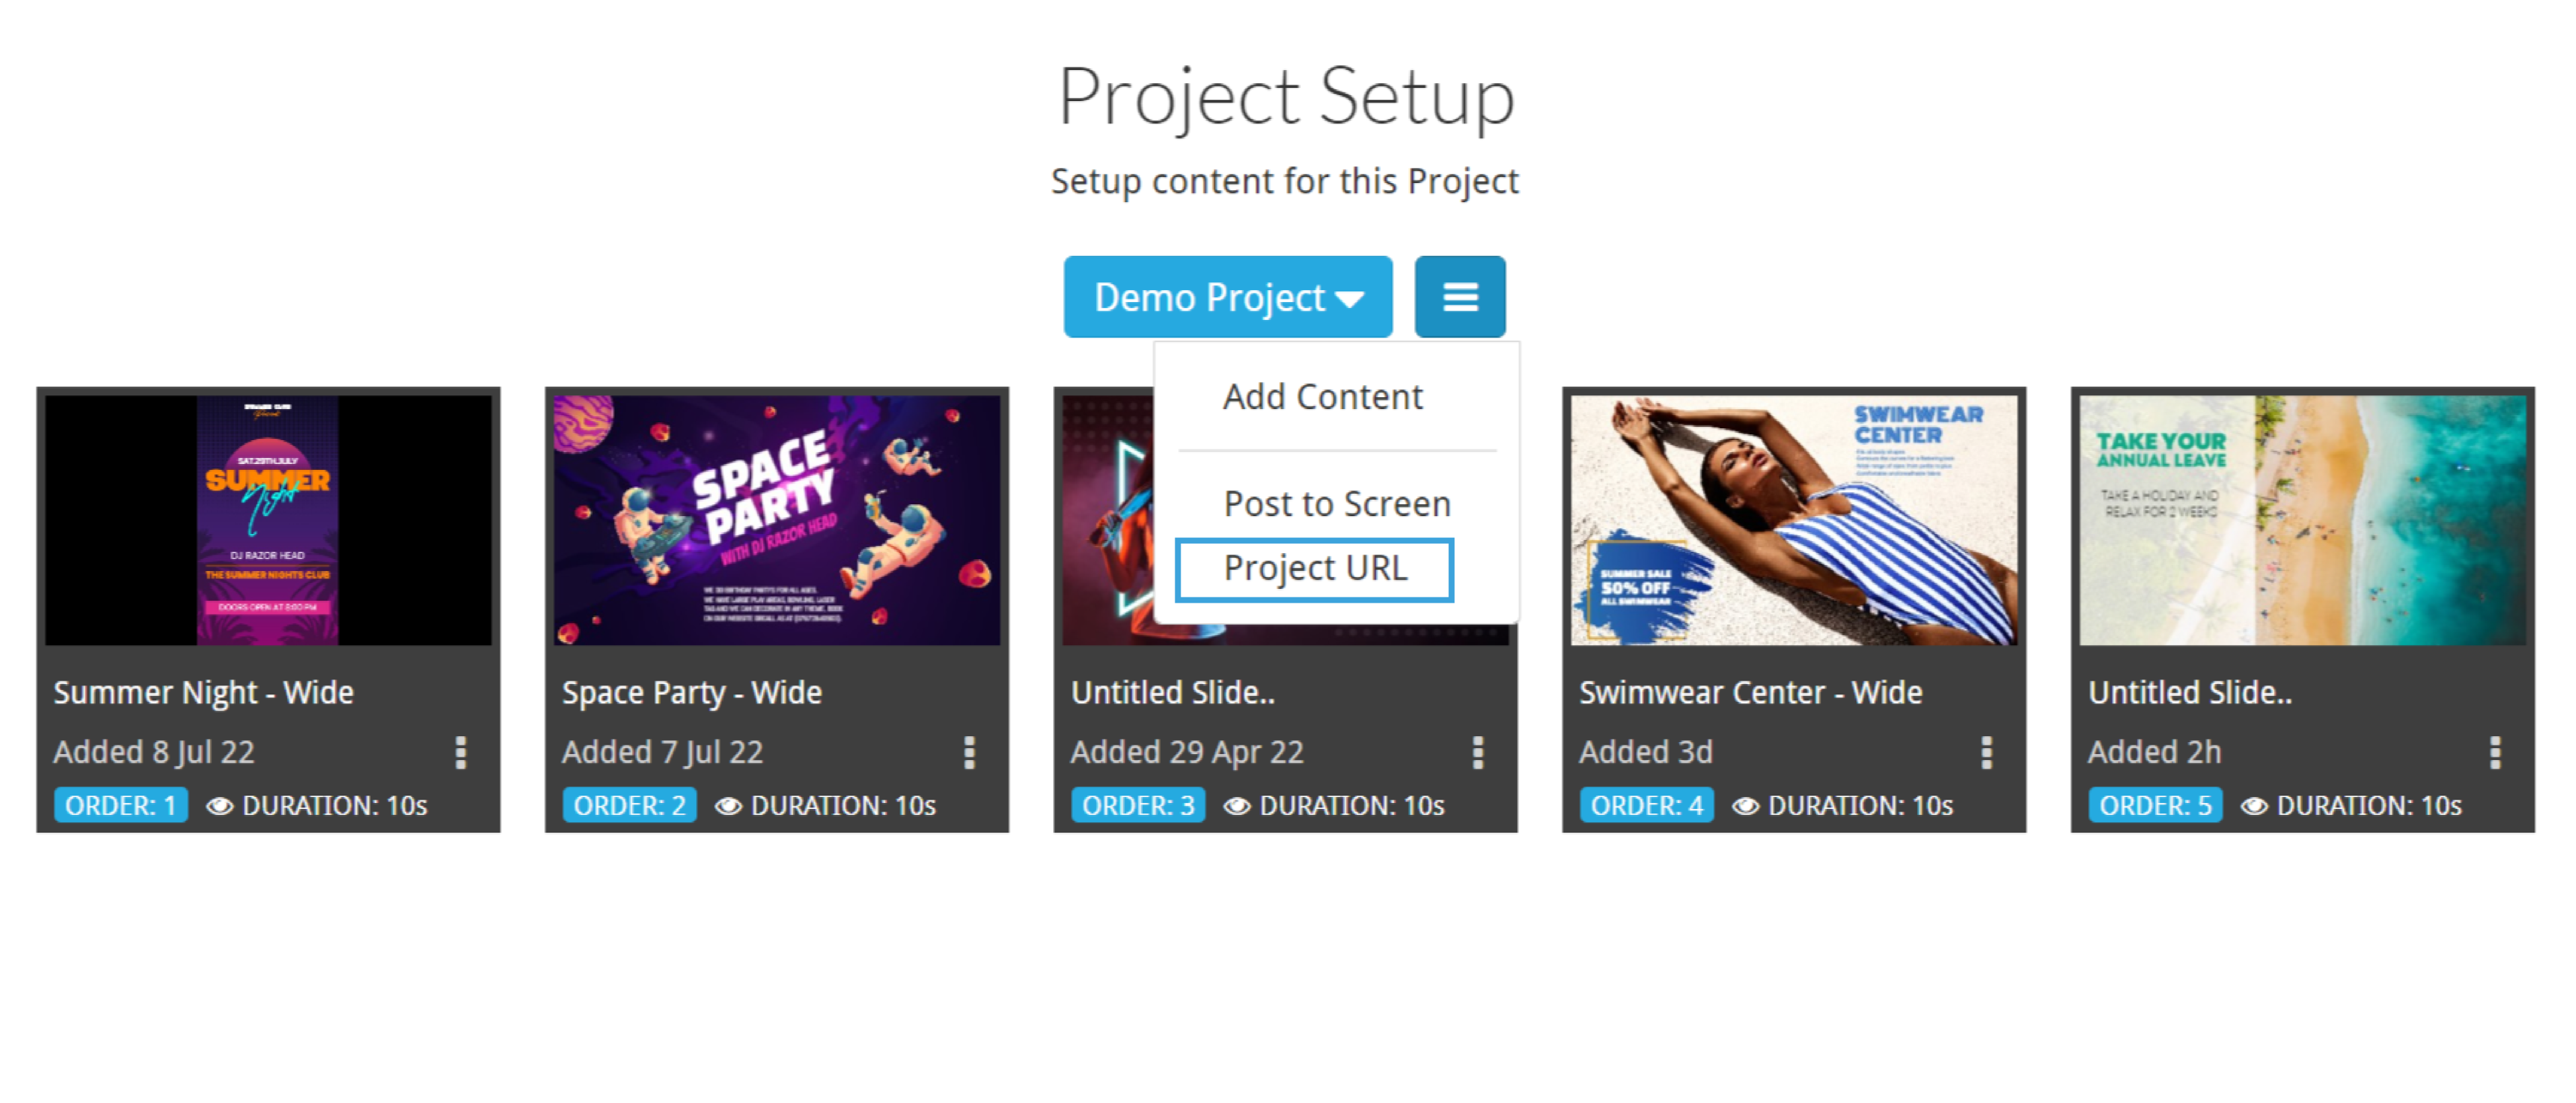
4 - Post The Project Into Your CMS
- Click the button with the 3 lines
- Click Project URL
- You will receive a notification saying the URL is copied into your clipboard
- Paste the URL into your CMS and a HTML 5 web asset
5 - Monitor And Control Your Assigned Projects
- Navigate to your 'Screen Manager' from the drop down in your Sodaclick dashboard
- Select 'Screen Manager'
- Here you will see all your active devices / screens (on & off)
- Select the drop down settings icon next to an active screen for more options
- You'll be able to see which project & solution is already assigned to this device, publish a new project and solution to the device ('assign playlist'), find out more info about the device ('screen info'), reload a screen if there are any issues ('reload screen') and de-assign / remove a device ('remove screen').